Osint
Exploring OSINT Tools: From Lightweight to Powerhouse
Introduction
Welcome to a journey through the exciting world of Open Source Intelligence (OSINT) tools! In this post, we’ll dive into some valuable tools, from the lightweight to the powerhouse, culminating in the grand reveal of Spiderfoot.
The main star of this post is Spiderfoot, but before we get there, I want to show you some other more lightweight tools you might find useful.
Sherlock
Ah, Sherlock – an old friend in my toolkit. I’ve relied on this tool for countless investigations, probably on every single one. The ability to swiftly uncover and validate your targets’ online presence is invaluable.
Sherlock’s prowess lies in its efficiency. Developed by Sherlock Project, it’s designed to streamline the process of gathering information, making it a staple for OSINT enthusiasts worldwide.
Sherlock
Let me introduce you to another tool called Sherlock, which I’ve frequently used in investigations.
Installation
I’m just going to install it on my test system. But there’s also a Docker image I’d recommend for a production server:
git clone https://github.com/sherlock-project/sherlock.git
cd sherlock
python3 -m pip install -r requirements.txt
Or use:
# in Macos
brew install sherlock

# in Kali and ParrotOS
sudo apt install sherlock

# in docker
# One-off searches
docker run --rm -t sherlock/sherlock user123

# If you need to save the output file... (modify as needed)
# Output file will land in ${pwd}/results
docker run --rm -t -v "$PWD/results:/opt/sherlock/results" sherlock/sherlock -o /opt/sherlock/results/text.txt user123

# At any time, you may update the image via this command
docker pull sherlock/sherlock
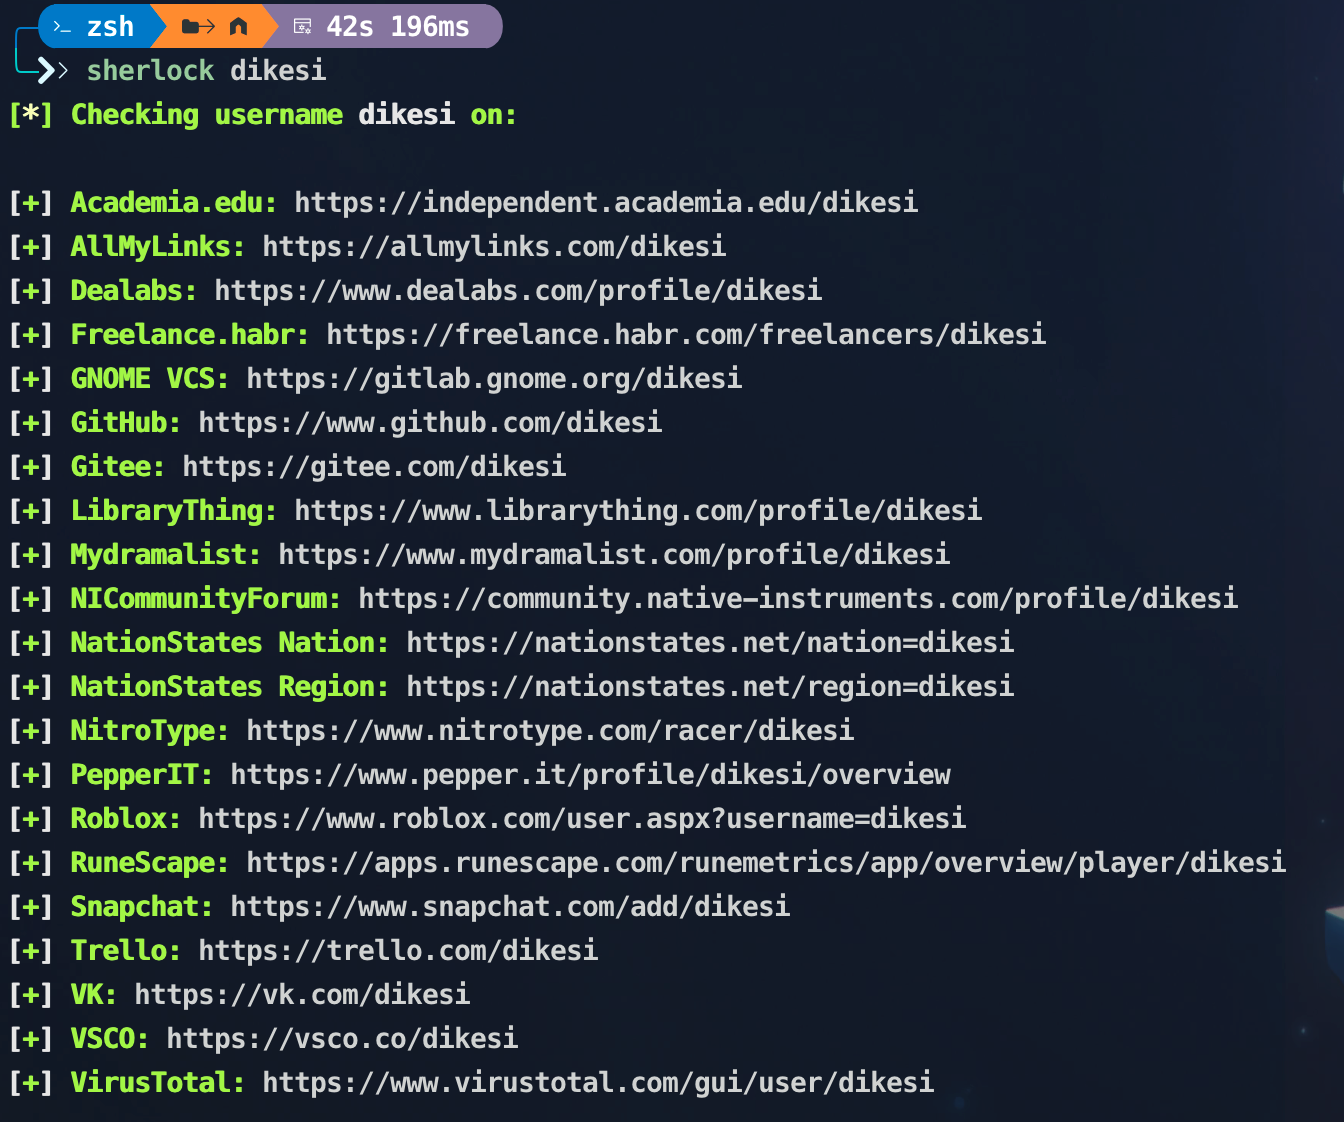
Sherlock Deep Dive
Sherlock has a really nice JSON file that can easily be edited to add or remove old tools. You can check it out sherlock/resources/data.json.
This makes it a lot easier to maintain. I use the same approach for my OSINT tools here on this website.
This is what one of Sherlock’s modules looks like:
  "Docker Hub": {
    "errorType": "status_code",
    "url": "https://hub.docker.com/u/{}/",
    "urlMain": "https://hub.docker.com/",
    "urlProbe": "https://hub.docker.com/v2/users/{}/",
    "username_claimed": "blue"
  },
There’s not much more to it; they basically use these “templates” and test the responses they get from requests sent to the respective endpoints. Sometimes by matching text, sometimes by using regex.
Spiderfoot
Now we get to the star of the show: Spiderfoot. I love Spiderfoot. I use it on every engagement, usually only in mode with just about all the API Keys that are humanly affordable. The only thing I do not like about it is that it actually finds so much information that it takes a while to sort through the data and filter out false positives or irrelevant data. Playing around with the settings can drastically reduce this.Passive
Installation
Spiderfoot is absolutely free and even without API Keys for other services, it finds a mind-boggling amount of information. It has saved me countless hours on people investigations, you would not believe it.
You can find the installation instructions on the Spiderfoot GitHub page. There are also Docker deployments available for this. In my case, it is already pre-installed on Kali, so I just need to start it.
After you navigate to the address, you will be greeted with this screen:
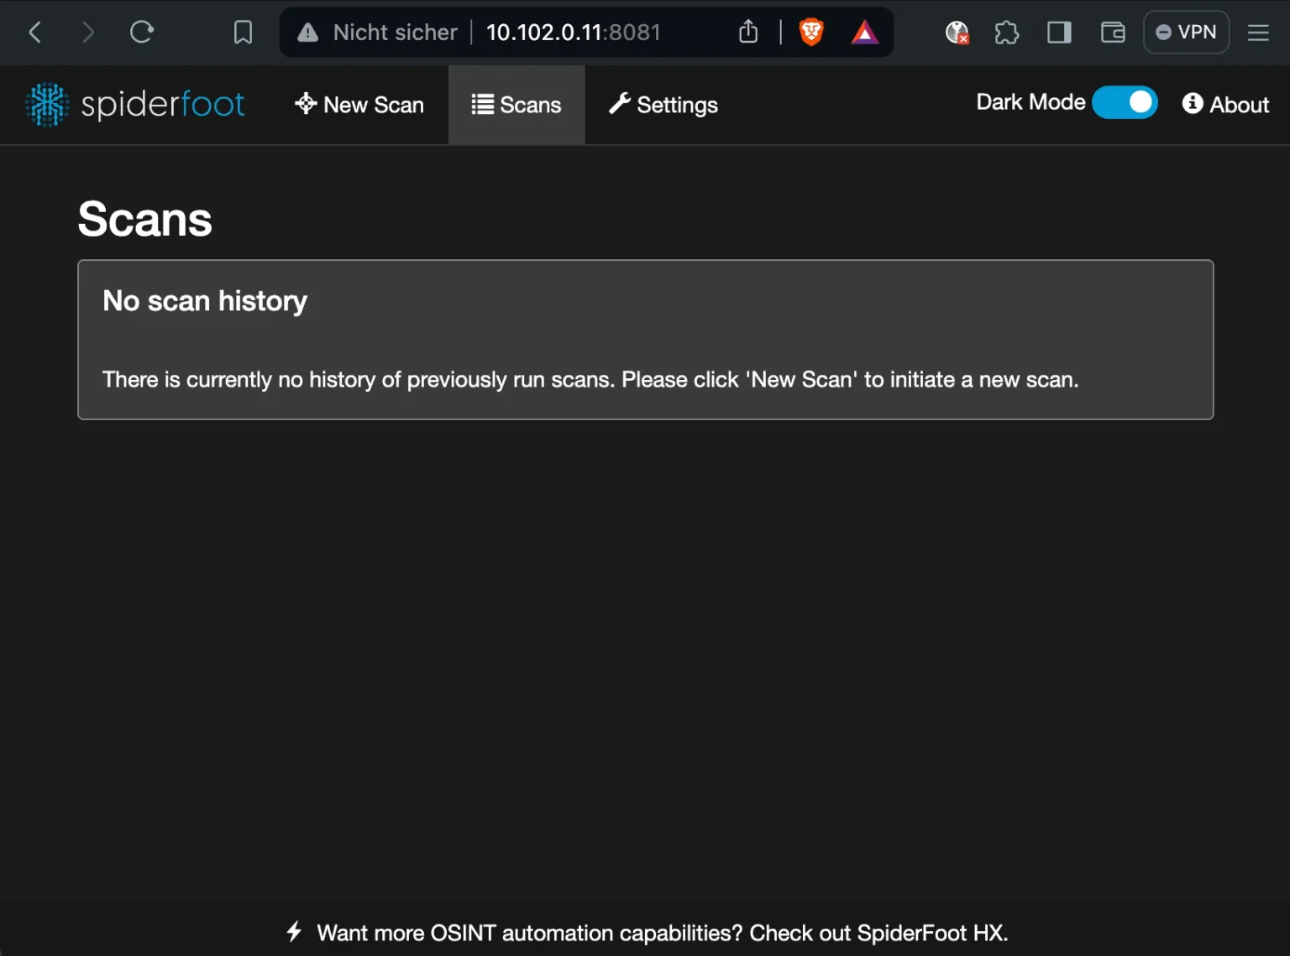
Running Spiderfoot
Spiderfoot is absolutely killer when you add as many of the API Keys as possible. A lot of them are for free. Just export the from the settings page, fill in the keys, then import them.Spiderfoot.cfg
Note
before you begin, check the settings. Things like port scans are enabled by default. Your target will know you are scanning them. By default, this is not a passive recon tool like the others. You can disable them OR just run Spiderfoot in mode when you configure a new scan.Passive
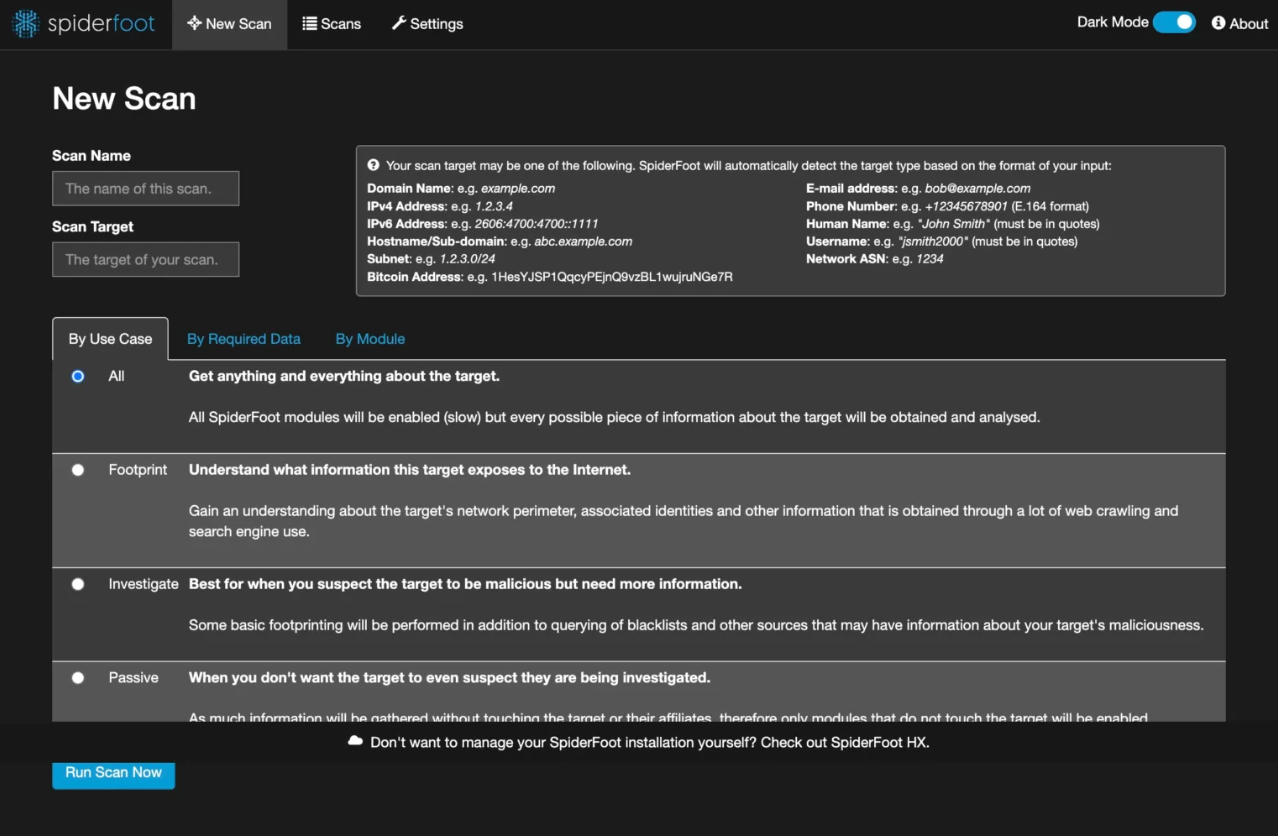
You get a nice little correlation report at the end (you do not really need to see all the things in detail here):
Once you start your own Spiderfoot journey, you will have more than enough time to study the results there and see them as big as you like.
Another thing I did not show you was the “Browse” option. While a scan is running, you can view the results in the web front end and already check for possible other attack vectors or information.